No matter where you get your meat from, you can never go wrong with making it into jerky. Jerky is a great snack for the outdoors, whether you are camping, hiking, trail riding, fishing, hunting, or literally any activity you can think of where you might require a tasty treat. It is portable, nutritious, doesn’t require refrigeration, and won’t spoil on you. It is also surprisingly easy to make, and I’m going to share how I did my latest batch. It takes relatively little prep time to make a batch, and the ingredients and hardware required is pretty basic as well.
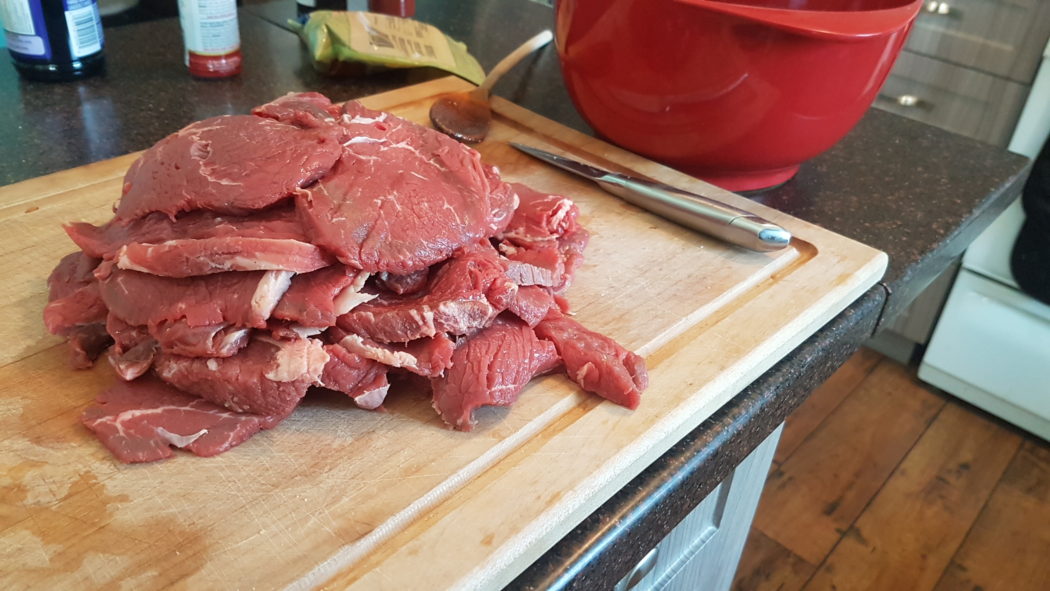
First of course you need some meat, any type of meat will do. One of the great things about jerky is that you can use almost any cut to make it, including a lot of pieces that would normally go for scrap or into burger. The only thing you really need to watch for is the fat content, because if not dried out completely it can potentially go rancid on you and spoil your jerky. Some people will trim out all fat and use only cuts of meat with limited or no marbling in their jerky, but personally I think that done properly, some nice seams of fat add a wonderful flavor and I probably push close to the limit of fat content that should be used (in other words, I use well marbled meat and don’t trim any fat off regardless of what cut I’m using). Basically, use some common sense and make sure your meat is more meat than fat, and if you are not sure, it certainly won’t hurt anything to trim some fat away. Better safe than sorry, especially if it’s your first time.

A big pile of sliced meat is a beautiful sight
Use a sharp knife and slice your meat into nice thin strips, remember that it will shrink down to around half or less of the original volume depending how long you dry it, so you want your strips to be at least 1/4 inch thick or bigger depending how you you want the end product to turn out. I like nice thick chewy jerky chunks so I tend to slice on the thicker side, but if you like the stuff that you find in most stores you will want to slice a little thinner.
Set the meat aside and it’s time to make the sauce. For today’s batch I wanted a ‘sweet chili lime’ flavor, and so that’s what I’ll be outlining here. Get a mixing bowl or container which is big enough to hold all your sliced meat with at least a few inches above that to spare.
Gather the following ingredients:
- Brown sugar
- Garlic powder
- Lime juice
- Worcestershire sauce
- Cayenne pepper powder
- Hot sauce of your choosing depending on your preferred heat level
- Onion powder
- Chili powder
- Liquid smoke
- Vinegar
- Soy Sauce
Now the fun part about cooking, in my opinion, and the part which most people don’t realize is that cooking is an art, not a science. Many people are afraid to experiment or to deviate from a set recipe, however for most anything that you cook, precision is not all that important, and eyeballing things works just fine.
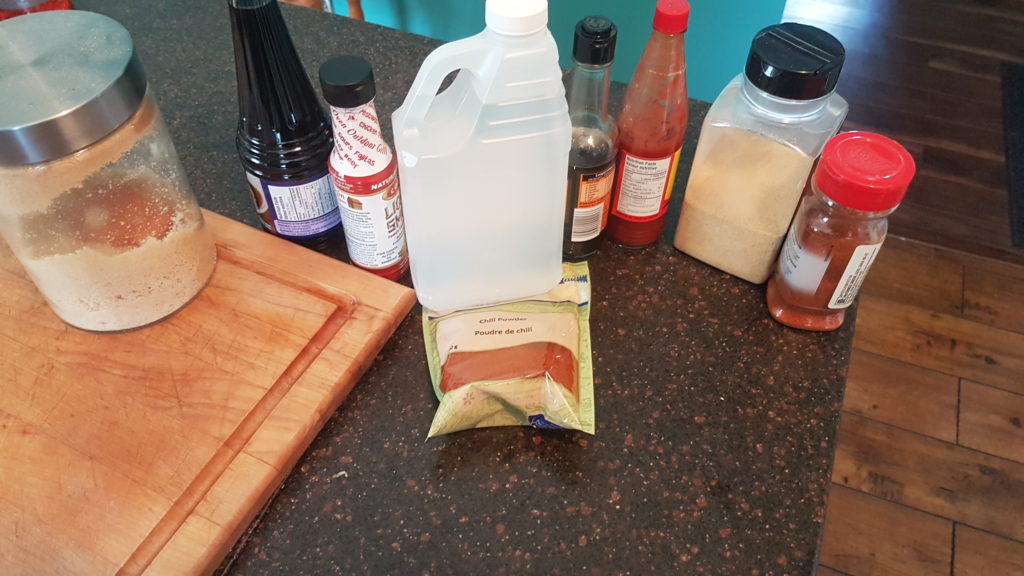
This should be enough, probably
When deciding how much of each ingredient to use, keep a few things in mind. For starters, how much sauce do you actually need? You need enough to cover the meat that you sliced, and so you should add your ingredients with that in mind. Secondly, what flavor or flavors do you want to be dominant? Personally I love lime flavor and wanted that to come through strongly so I used a lot of it, where someone who doesn’t like lime as much might use more vinegar or soy sauce instead. Every time you add something to the mix, be sure and taste it so that you are certain it is turning out how you want.
That being said, I wanted to fill my mixing bowl about halfway with sauce, which once the meat was added should pretty much fill the bowl up.
To form the base of your sauce you need your sweet, and your acid (tangy), and then all of the flavors are layered on top of that base. I used enough sugar to fill about a third of my bowl, or roughly 2.5 cups. The acid for me was mostly lime juice, because I love lime, however you could use partly lime juice and partly vinegar, depending what flavor you like. Add enough of the juice/vinegar that the sauce becomes liquid and is easily stirred (not so much that you dissolve all the sugar, you just want to be able to stir everything around easily). Voila, you have the base of your sauce!
Next we start to build the flavors. I work my way from biggest contributor to smallest, and so my next addition is the garlic powder. I added a couple palm fulls, or roughly 3/4 cup, because I love my garlic. Garlic is an important ingredient, as I find that it serves as a foundation for most other flavors. It is hard to add too much garlic, since it mixes nicely with everything and is fairly easily covered up if need be. A palm full, or roughly 1/4 cup of onion powder complements the garlic nicely and also works as part of that foundation.
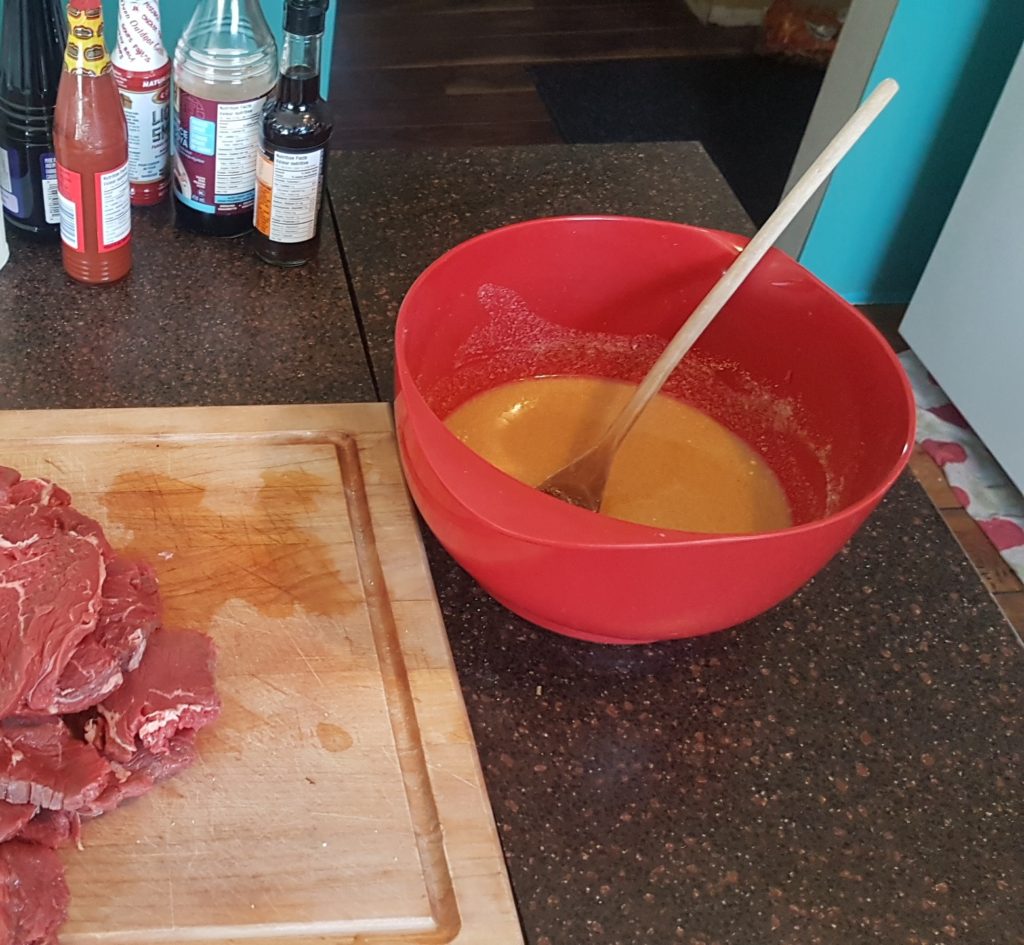
Note the nice garlicky color and texture of my mixture at this point
My mixture got a little bit thick, and so I thinned it out again with 6 or 7 dashes of Worcestershire sauce for extra flavor and a few tablespoons of soy sauce. I don’t generally add any salt to my mixture because I use the soy sauce to thin it out and between that and the hot sauce I get plenty of saltiness already. Be sure not to thin it out too much, you want to keep it a fairly thick consistency. As long as you can effectively mix it all together you can always add liquid at the end if needed.
We have our sweet and our tangy covered, we have our foundation built, now we add the heat. For my heat I chose some Louisiana style hot sauce, because I wanted some good kick. I added about 2/3 of a small bottle, enough to turn the mixture nice and red. A palm full or two of regular chili powder came next, and a good palm full of cayenne pepper. With all my heat added I was sure to do constant taste tests to be sure the flavor levels were where I wanted, and add more of things as I needed.
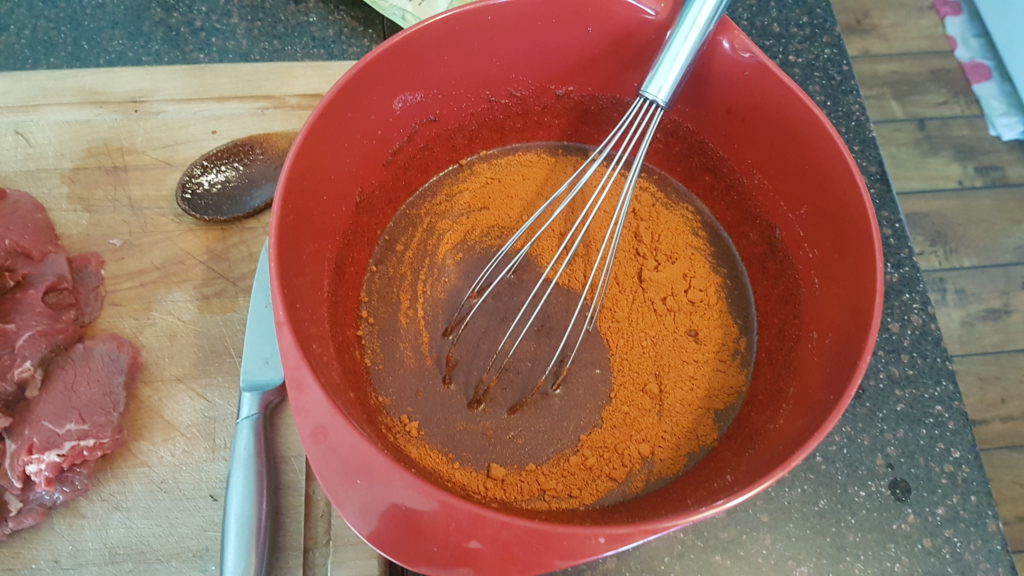
I like it hot!
Whisk it all together and you should end up with a mixture that has a nice thick consistency similar to a store bought BBQ sauce. Taste test it again and add anything you think is missing, or anything you want to experiment with.
Lastly, add the sliced meat. It is important when adding the meat that you use your hands to mix it all around and be sure the sauce is getting into every open area and coating all the surfaces of the meat. Don’t just put the meat into the bowl stacked up on itself or many of the middle slices will never get any flavoring. This is the part where you get nice and dirty, really get in there.
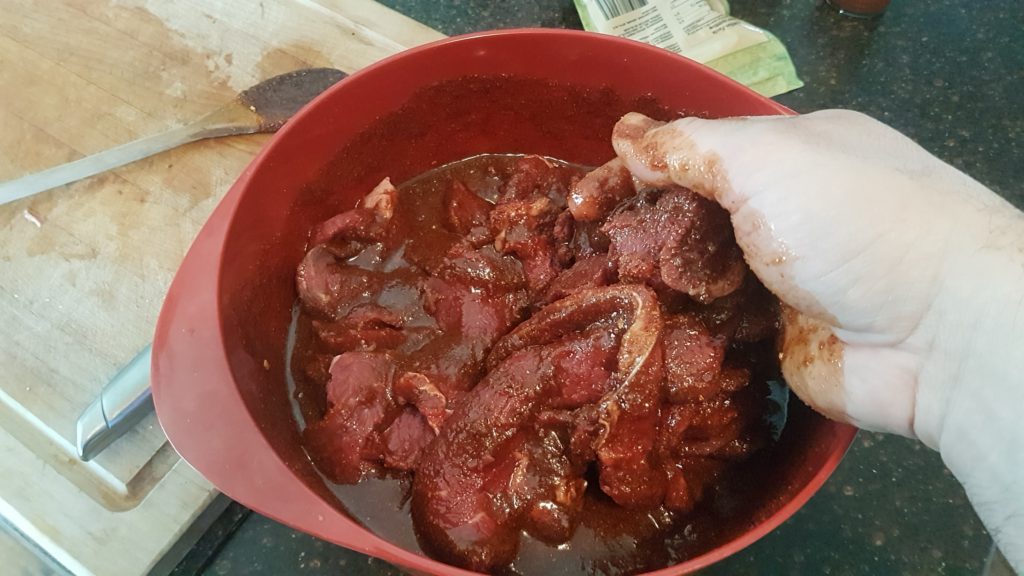
That’s the stuff
Cover it, and let it sit for anywhere from 6-24 hours. Really, the longer the better, and the more of the flavor it will absorb as the acids work to slightly break the meat down. I leave mine in the fridge overnight at the very minimum.
When you are ready, simply pull it out and place the strips on your dehydrator racks, or in the oven, or whatever you are using to dry it out and cook it. Follow the directions for your dehydrator, or use the lowest possible heat setting on your oven and keep a very close eye on it until it has reached a level of dryness that you like. This will take a number of hours, so plan your day accordingly, especially if you are using the oven where you will need to watch it pretty closely.
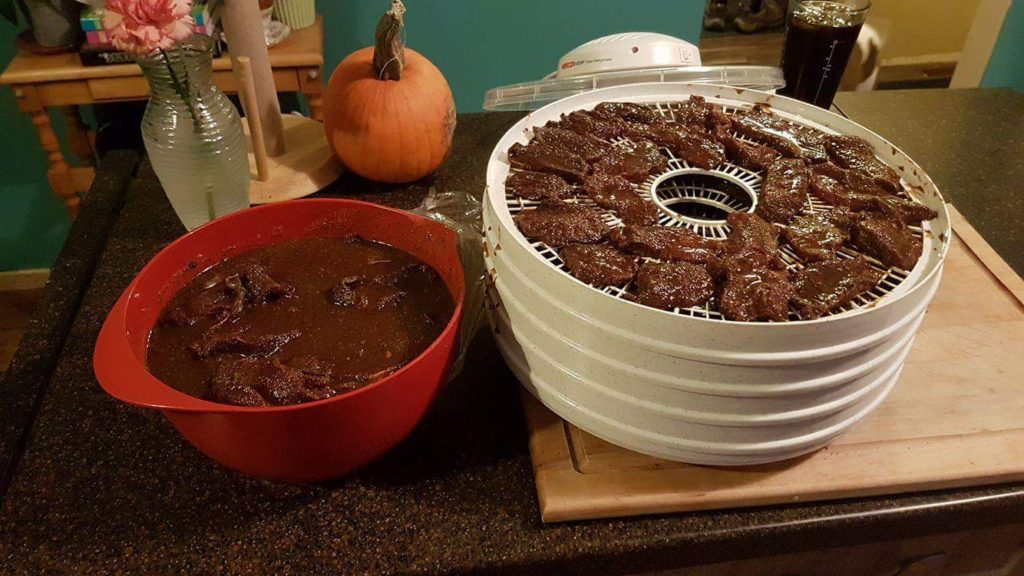
A cheap and basic dehydrator works perfectly
For an added bonus, take all the sauce left in the mixing bowl and pour it into a pot. On the stove, bring it to a slow boil and let it boil for 5-10 minutes. This will accomplish two things, it will boil off some of the liquid and thicken it up a little bit, and it will kill off any bacteria that was transferred to the sauce by the raw meat. After boiling, let it cool, put it into a glass jar and you now have a delicious BBQ sauce to use the next time you grill something. Nothing gets wasted in this household!
Yum


[…] but it’s also surprisingly easy to make, if you have a little bit of time. Normally when I make jerky I do a sweet chili lime flavor, which is too spicy for my parents to enjoy. Recently my mother was […]
3auditorium
manhunt, gay dating site https://gaypridee.com/
faree gay chat https://gaytgpost.com/
gay chat with married man https://gay-buddies.com/
gay dating online https://speedgaydate.com/
ali baba slots game free https://2-free-slots.com/
river slots app https://freeonlneslotmachine.com/
gladiator slots https://candylandslotmachine.com/
caesar slots free download https://pennyslotmachines.org/
life of luxury slots https://slotmachinesworld.com/
konami slots download https://slotmachinesforum.net/
big fish slots https://slot-machine-sale.com/
adult slots https://beat-slot-machines.com/
real casino gambling slots https://411slotmachine.com/
vegas slots online free https://www-slotmachines.com/
download scatter slots https://slotmachinegameinfo.com/
phd dissertation length https://buydissertationhelp.com/
business dissertation help https://dissertationwriting-service.com/
dissertation writing tutors https://help-with-dissertations.com/
a dissertation https://mydissertationwritinghelp.com/
writing a dissertation with adhd https://dissertations-writing.org/
dissertation definition https://helpon-doctoral-dissertations.net/